
Zeb’s defense looked like it was going to rely on holding something in the 3 small buildings area, because the large building had only one unit in it, and it was not heavily supported. 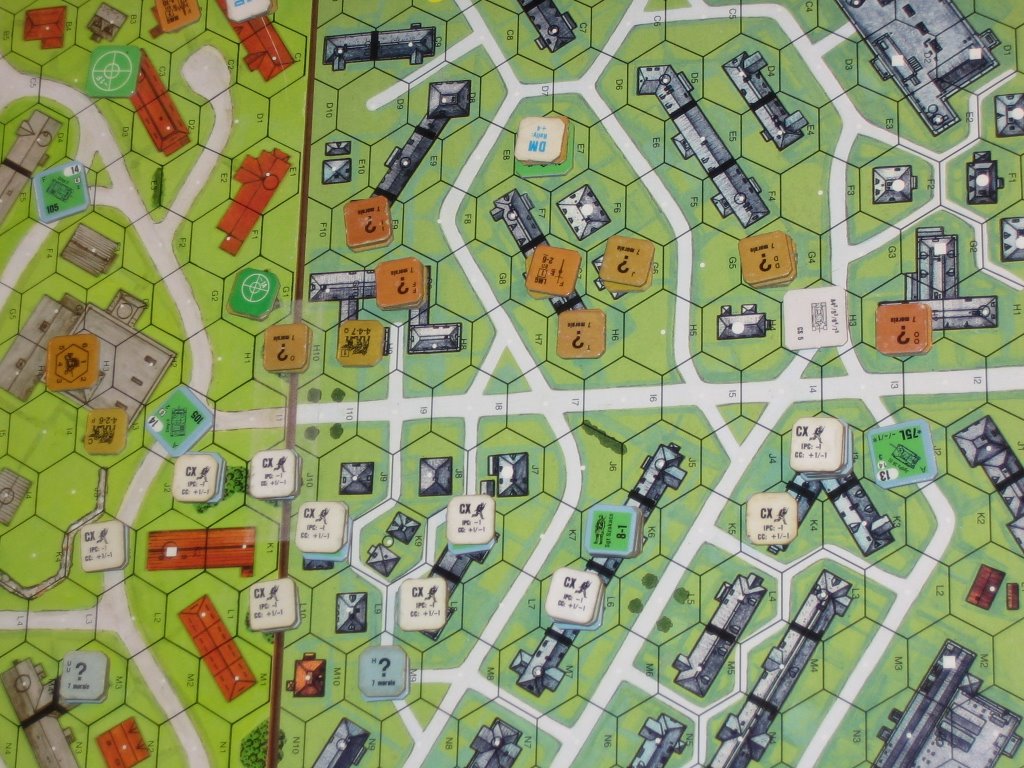 Consequently I only brought a few units on my far left, including the 9-2 leader and the HMG, hoping to get to a level 2 location where he could harass Russians from a distance. The Zrinyis, having little to fear from the Russian infantry, moved right up in their faces to try to intimidate them with their large 105mm guns. A 20-flat shot is nothing to sneeze at after all. The Hetzer was tasked with hunting the T-34, which was set up in the road on the far right (the Russian left). The Russians did not contest many of the opening moves by the Hungarian infantry, mainly because they did not have line of site to them, as they moved up behind cover to get to the front line on the first turn. The main action occurred when a Hungarian squad moved out into the street to draw fire from the T-34. My intent was to bait the tank to shoot, thereby preventing it from being able to make a motion attempt when the Hetzer later bore down on him. With a 14 frontal armor factor, the Hetzer had very little to fear from the Soviet tank, whose 76L gun only had a kill number of 13. With APCR, the kill number would go up to 17 at 0-1 hex range, 16 at 2 hexes, 15 at 3 hexes, and 14 from 7-12 hex range. So even against an APCR round at close range the risk was minimal. The T-34 took the shot with its bow machine gun, enabling my little scheme. The Hetzer moved up to a couple of hexes away, and when the T-34 declined to shoot, the little agitator took a bounding fire shot needing a 5 to hit. The shot was true, and it wrecked the Russian tank (17 to kill against 11 armor). This bounding fire shot had about a 1 in 8 chance of succeeding. Had it missed the odds for a kill in the next prep would have been much better, say about a 1 in 4 chance. It was an auspicious start to the scenario.
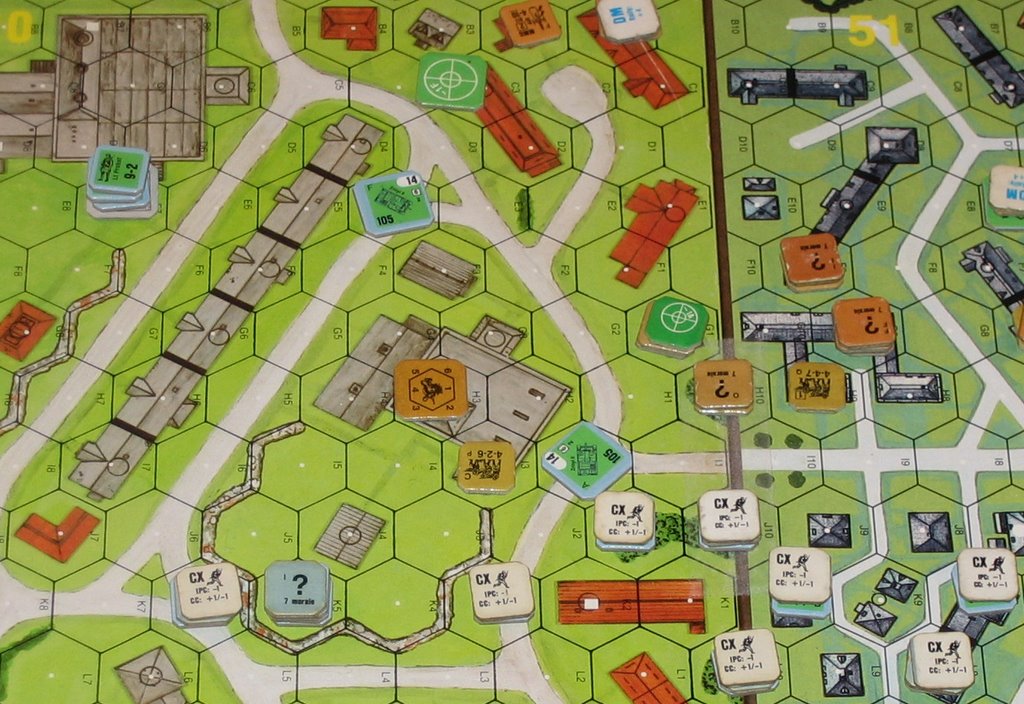 Naturally the Russians skulked under cover in their half of the first turn, but on the far left flank a lucky HMG shot directed by the 9-2 leader broke the Russian squad manning a medium machine gun. The game was really starting out well for the Hungarians.
On the second turn, one of the Zrinyis got up close and personal with the lone Russian conscript squad tasked with defending the big victory building on the left. The risk in close combat reaction fire for the Hungarian assault gun was again minimal, considering the low morale of the conscript. It pinned on its pre-AFV attack task check, and was subsequently bum rushed by about 5 Hungarian squads and a leader. It took a couple of CC rounds to finish them off, but the outcome was not really in doubt. Meanwhile the Hetzer relocated a little bit more to the left, since it had to be prepared for the oncoming OT-34, by far the most dangerous weapon in the Russian arsenal. 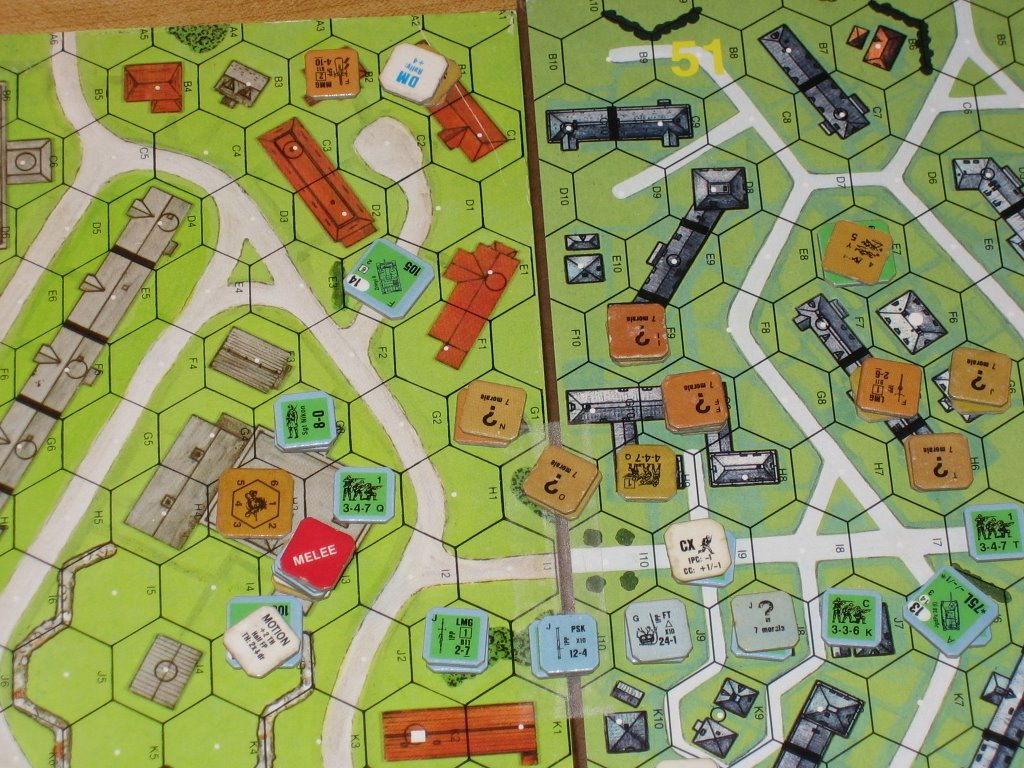 I was a bit worried that the flame throwing monster would go after my Zrinyis, but instead it drove up right behind the wrecked T-34 on my far right flank, and belched a 16-flat shot at a stack of Hungarians in a building on that flank, doing considerable damage. They all broke, and were out of the game for a while as they fell back and tried to rally.
The middle game saw the Russian luck begin to turn. I rolled well early, but now Zeb reeled off a string of threes and assorted other low rolls to keep my forces back. The fight was most intense in the middle area between the big victory building and the three smaller ones. My flame thrower team would carefully move up, only to be broken two or three times, eventually succumbing to a Russian sniper while taking cover in the big victory building. They never got a shot off. One of the Zrinyis tried the vehicular bypass trick again to limit fire opportunities from a Russian squad in the front line and thereby jumpstart my assault in the area, but this was no squad of conscripts. It was a seasoned group of veterans that wouldn’t be so easily intimidated. They deftly knocked out the assault gun with grenades in CC reaction fire. For sure, the Zrinyis are not ideal for this tactic, since they have no machine guns, giving infantry a +1 bump on their attack. The difference between needing to roll a 4 or a 5 to harm a vehicle in CC is pretty significant. The other assault gun wasn’t having much luck either, as it malfunctioned its gun! The Hetzer drove over back to the far right flank to take on the OT-34, but it could not do so without spending a lot of points in its line of sight, thereby allowing the Soviet tank to kick into motion and turn away for a quick escape, making it nearly impossible to hit. During the next turn or two, the Hetzer kept chasing the OT-34, only to see its prey kick into motion and escape each time, free to drive somewhere else and fry another group of Hungarian infantry. The hunt was made that much harder because the Hetzer dared not get too close to the flame throwing tank either. 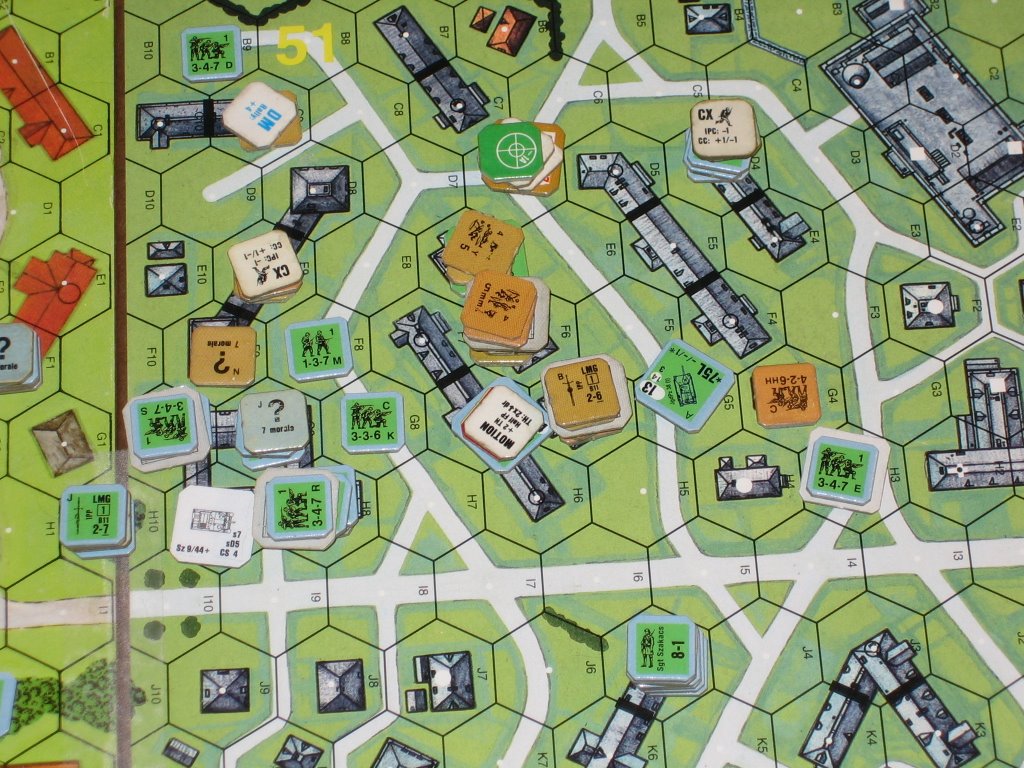 If it got up close to increase its odds of a hit and kill, and make it harder for the Russian beast, if it kicked into motion, to turn toward a covered escape route, it might have to endure instead a shot from the flame thrower. These are very dangerous indeed. Even if the Russian tank had to change facing to take such a shot, it still wouldn’t matter because there is no to hit roll. Instead, the flames allow an immediate roll on the kill table. Yikes.
Eventually though in the middle area, numbers began to tell and the Hungarians were able to push the Soviets back and gain a foothold. The Zrinyi with the malfunctioned gun now had the duty of driving next to as many broken Russian troops as possible to make them DM, and to force their routing in a direction to my liking. It could do little else unless it managed to fix its gun, which it failed to do for the remainder of the game. Otherwise the Hungarians tried to get their panzerschreck teams forward to prepare for the next attack by the OT-34.
The critical moment occurred, I think, in turn 4. The OT-34 had successfully torched a couple of Hungarian stacks of infantry, setting back the assault on the Hungarian right flank. Moreover, it had escaped the Hetzer twice. It now drove across toward the middle area, and a Hungarian panzerschreck team, thinking it was now or never, took a shot at 3-hex range. I think they needed to roll a 4 or less to hit, certainly not great odds. Not only did they miss, but they ate the backblast to the tune of a K/1, resulting in a broken half squad. Now the Russian monster, no longer having anything to fear from the PSK, drove over that way and gave the hotfoot to another stack of Hungarian infantry. The roll was a 10, however, and the ammunition ran out! The attack still counted, but it was only a morale check. The Russian tank moved on, and drove down the road next to those it had just attacked. From the upper level, a squad found a panzerfaust and, braving backblast of course, put a lucky shot through the hide of the dragon, creating a blazing wreck in the road. This wreck would now conveniently provide some cover for  Hungarian infantry as they tried to cross the road to the last bastion of the Russian defense, the final three victory buildings.
There were other notable events in the mid game, although I can’t remember the precise order of their occurrence. The bypassing Zrinyi managed to casualty reduce a Russian squad when Zeb rolled boxcars on their CC attack. In another close combat, Zeb rolled snakes to recreate a 7-0 leader in roughly the same area where the previous 7-0 had been dispatched by the Hungarian sniper. The Hungarian sniper was active all game, breaking a key unit in the victory area fairly early, and then later eliminating the Soviet 8-1 leader in the final victory buildings.
With unopposed armor and a numbers advantage in infantry, the endgame was somewhat anticlimactic. Zeb did a great job getting the most out of his troops, but the writing was on the wall about how it would end, and using vehicular bypass and infantry firepower, the Hungarians were able to clear the victory area. This was another fun game against a great opponent. The scenario is worth a try. Give it a go and let us know how it went. I hope you’ve enjoyed this recap.